


新闻中心
NEWS CENTER
企业新闻
项目动态
综合管理
安全生产

水发数科党支部开展“党旗引领青春路 携手共建团队情”党建带团建主题活动
2024-03-22坚守廉洁底线,弘扬清风正气|水利规划院党支部和水发数科党支部结对共建参观山东省廉政教育馆
2024-03-22节生命之水 建和谐家园|澳门官方游戏网站(中国)有限公司官网开展党员进社区“双报到”志愿服务活动
2024-03-20水发建设集团召开党委理论学习中心组学习研讨(扩大)会议
2024-03-19严守廉洁纪律,扣好廉洁从业“第一粒扣子”|山东水工党支部开展廉政专题党课
2024-03-18党建引领添新绿 义务植树当先锋|澳门官方游戏网站(中国)有限公司官网组织开展“学雷锋”义务植树暨主题党日活动
2024-03-13
资质荣誉


产业瞭望
INDUSTRY OUTLOOK


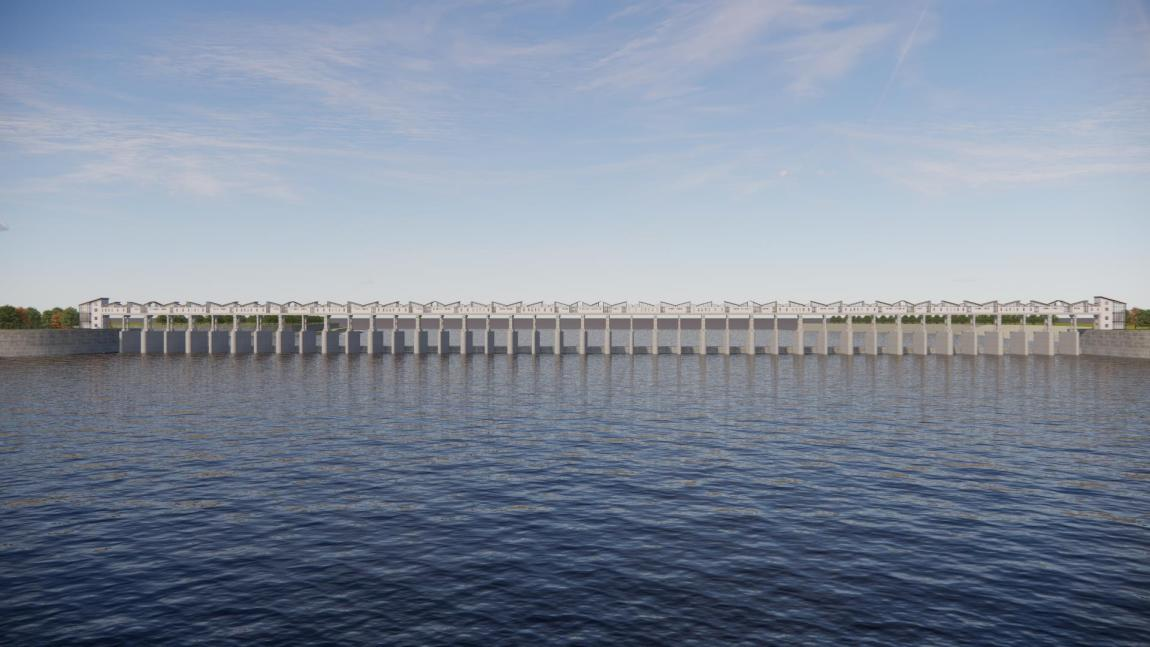
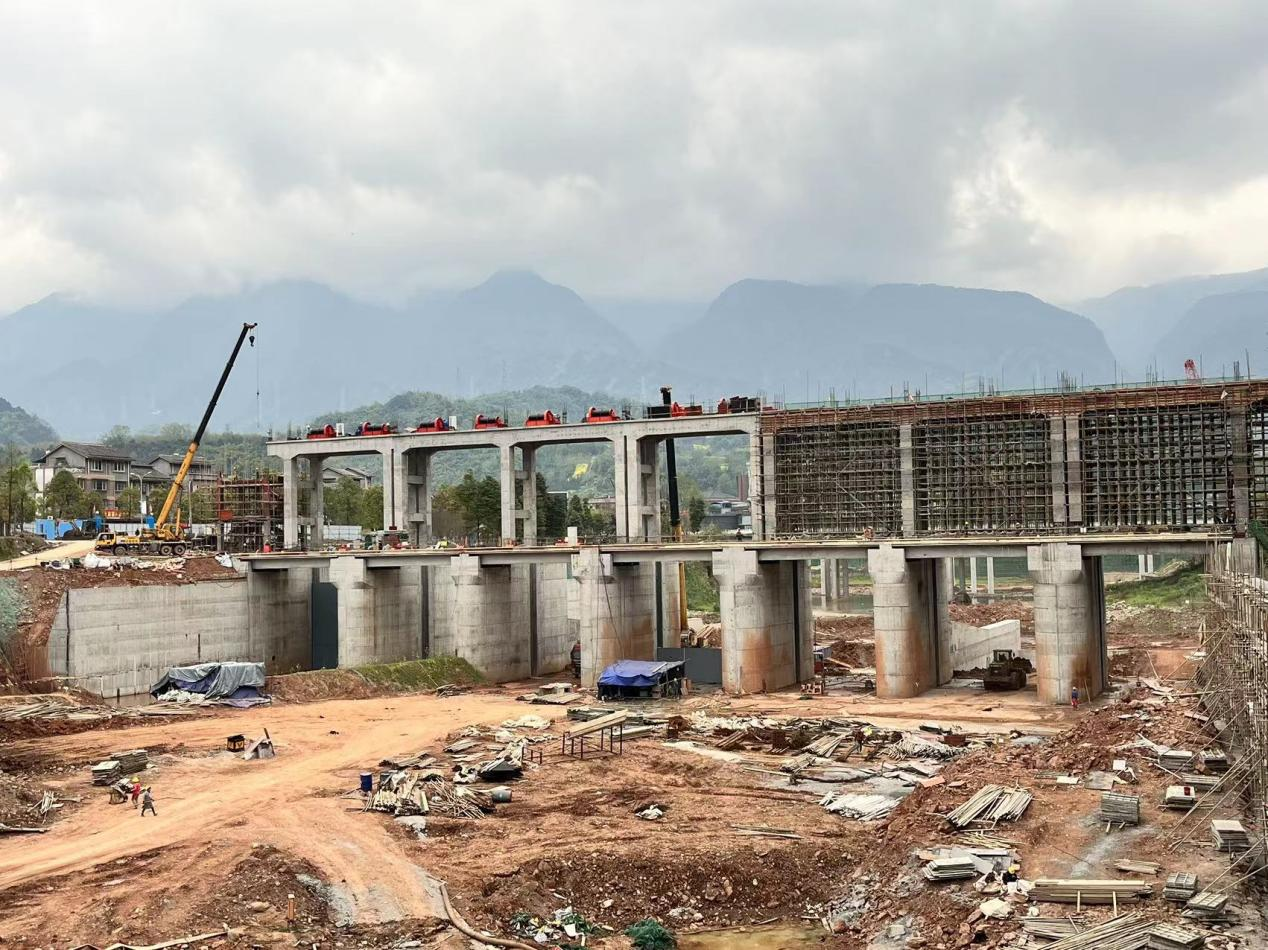
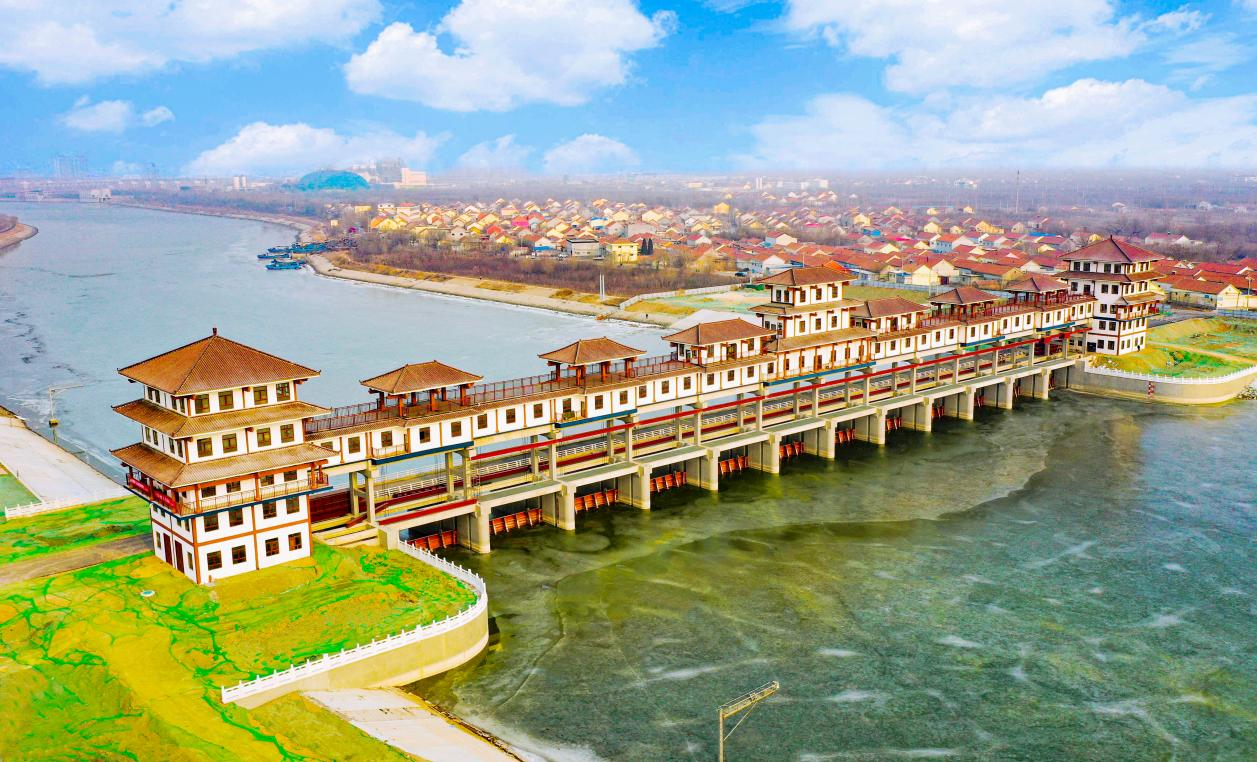
肥城市大汶河砖舍拦河闸工程
山东省淮河流域重点平原洼地南四湖片治理工程
滨州市徒骇河坝上闸除险加固工程
菏泽市病险水闸除险加固工程

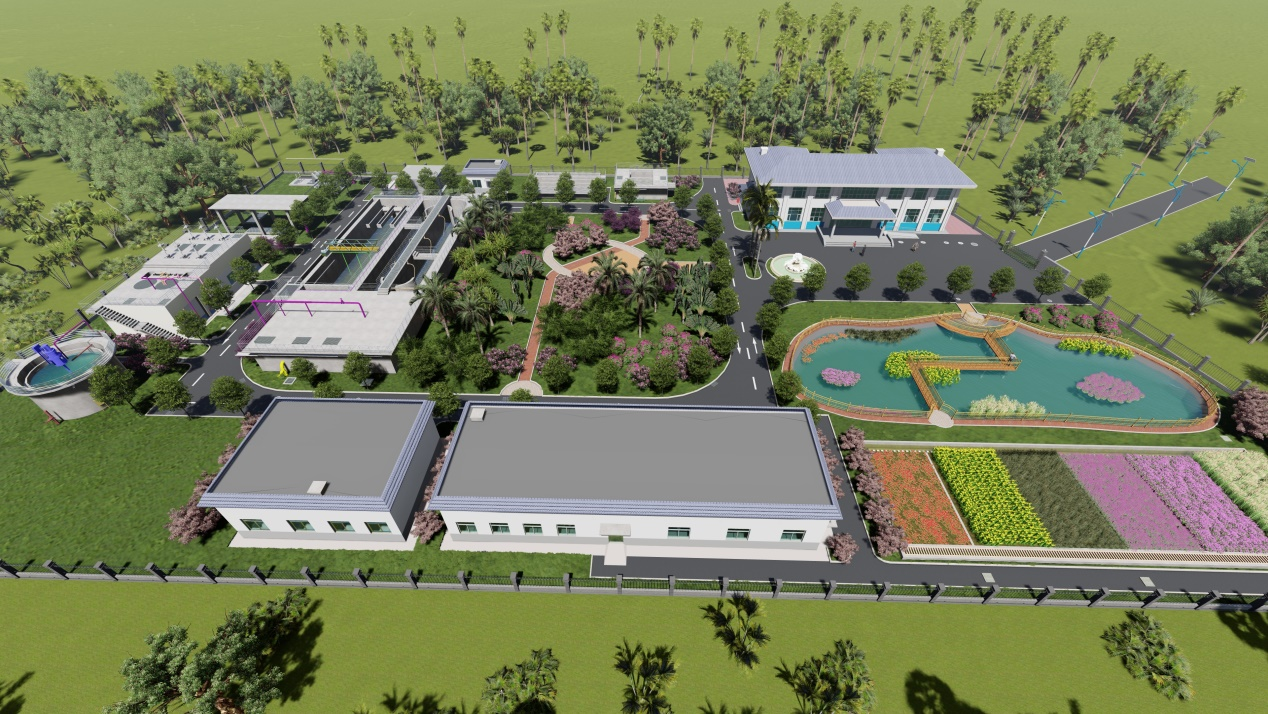
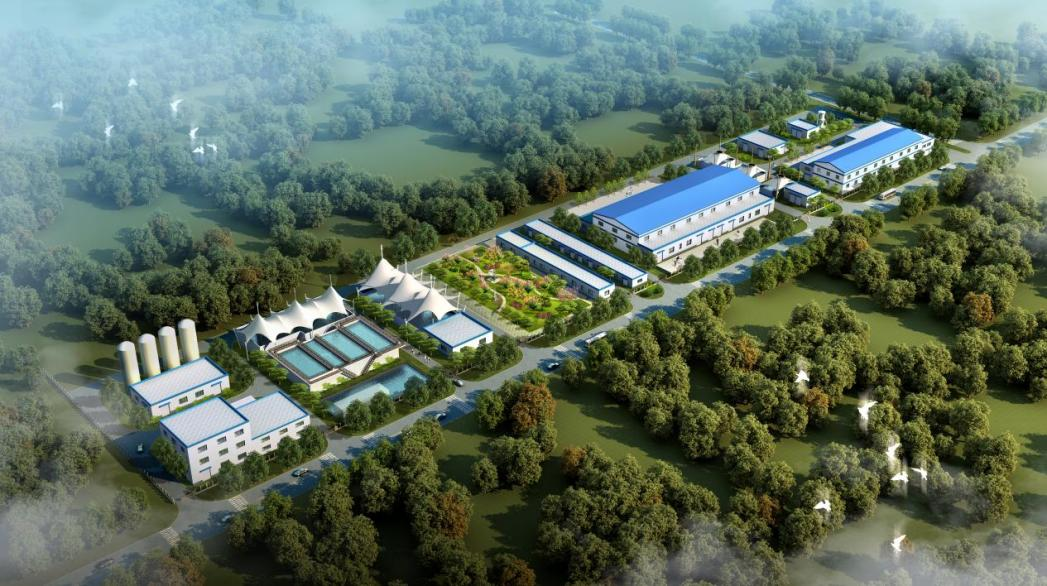
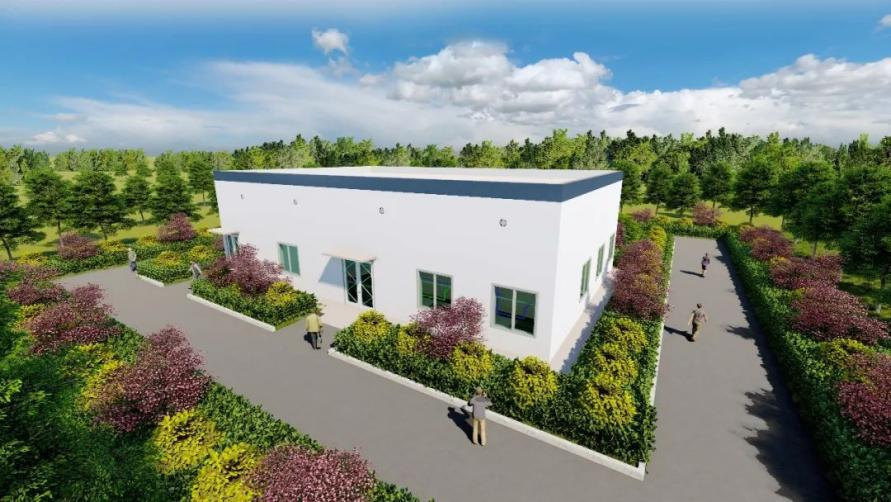
曹县城乡供水一体化净水厂工程项目
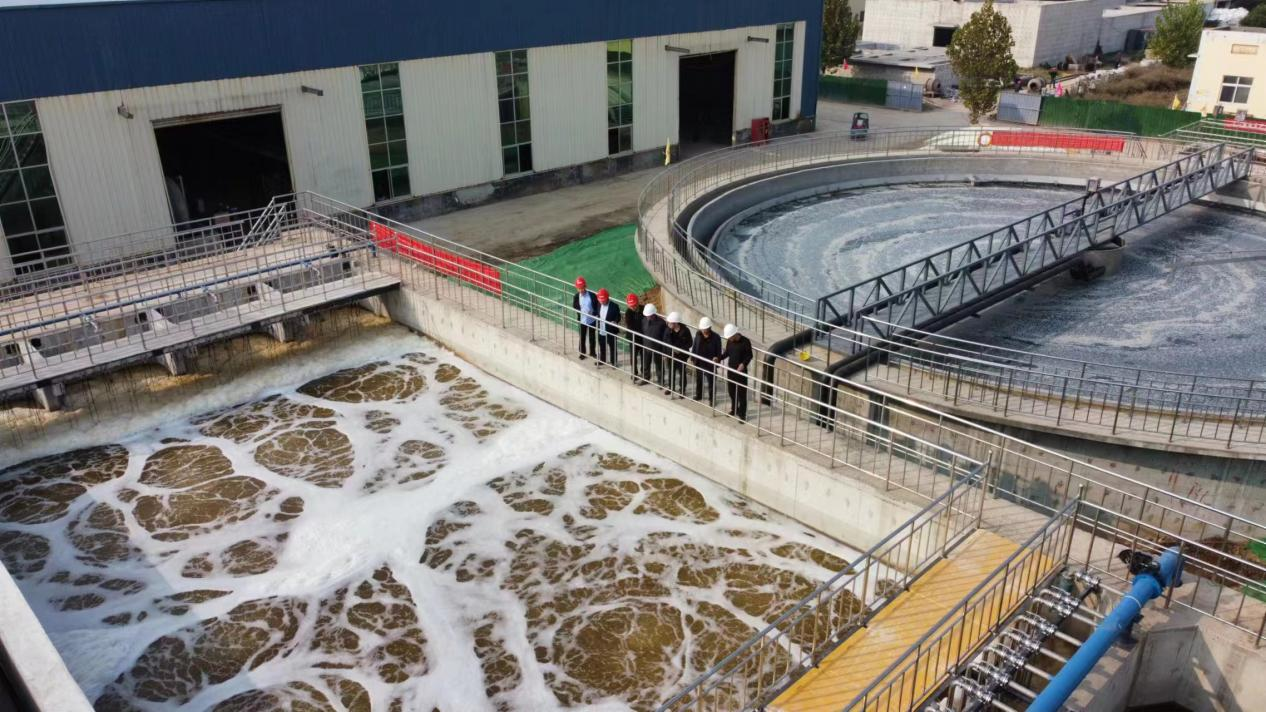
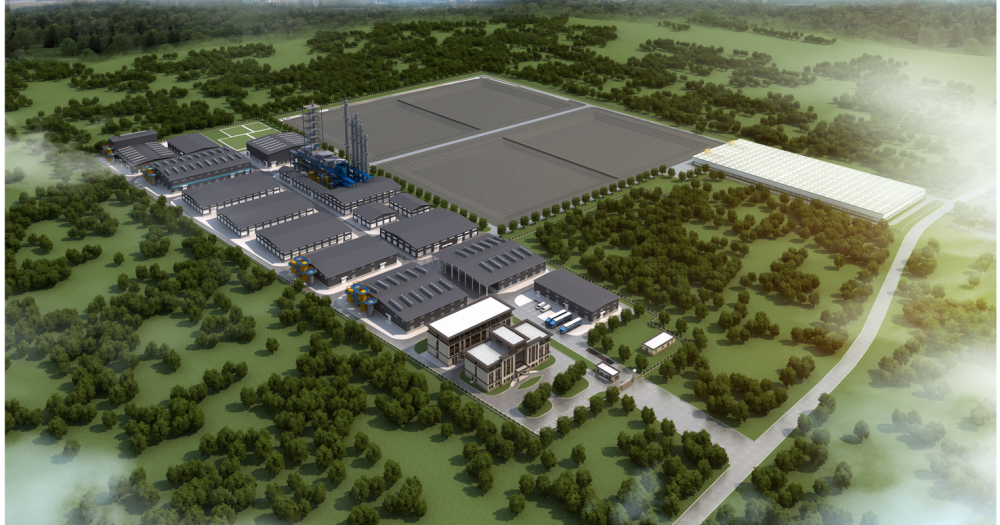
金泉工业污水处理项目
临高县建制镇污水处理EPC+O项目
河钢集团水处理中心项目
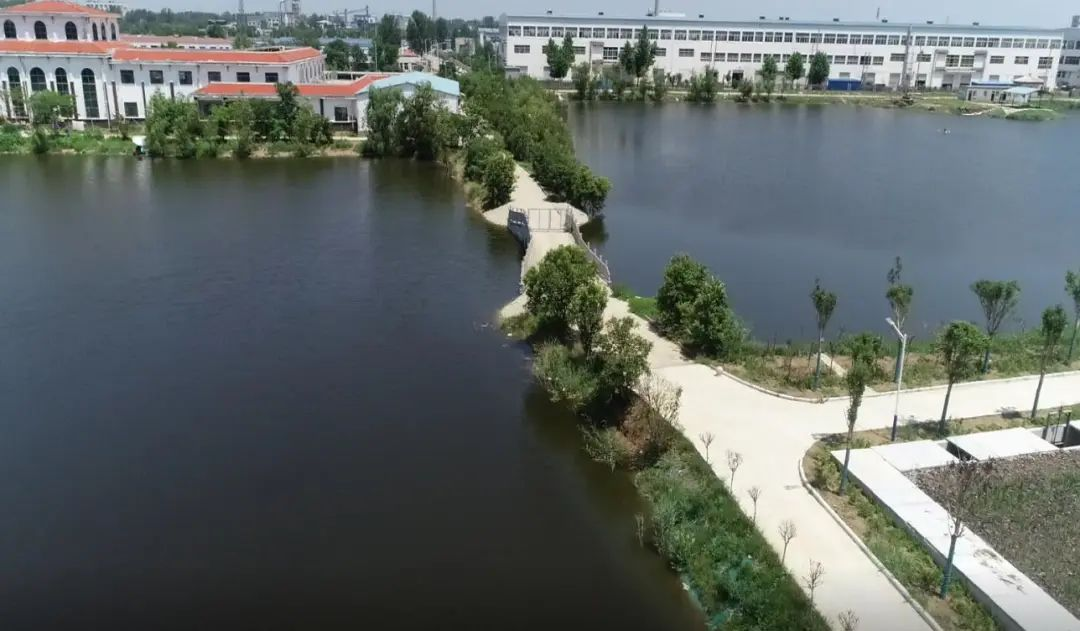
巨野县老洙水河人工湿地提升改造工程
巨野县老洙水河人工湿地提升改造工程
巨野县老洙水河人工湿地提升改造工程
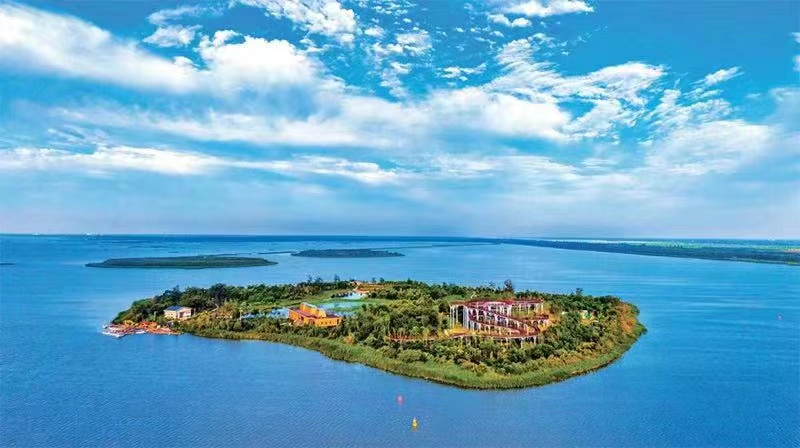
梅花岛设计施工总承包EPC工程
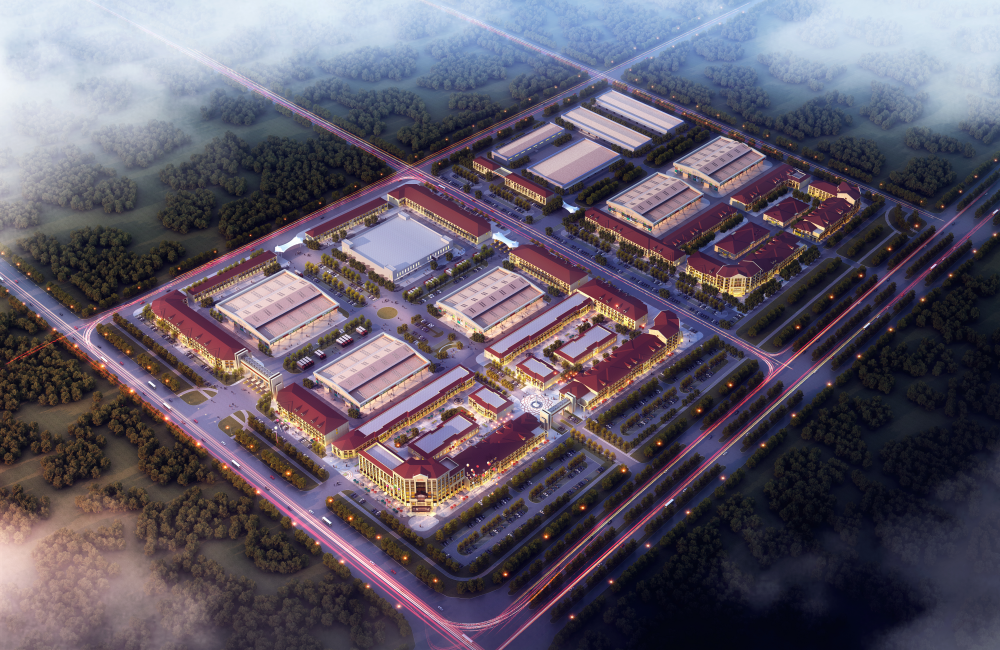
水发乡村振兴庆云县农产品交易中心
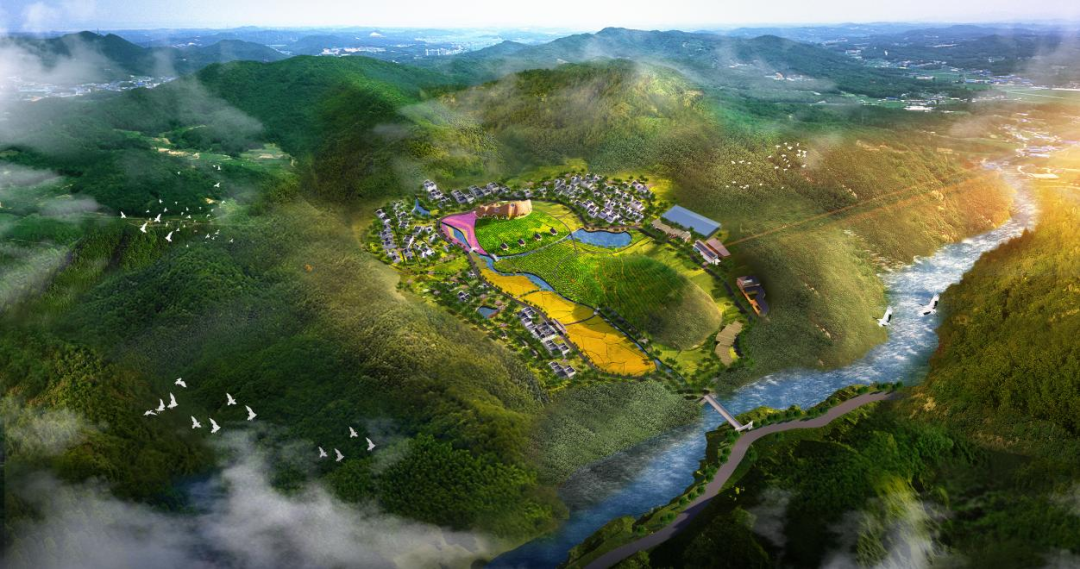
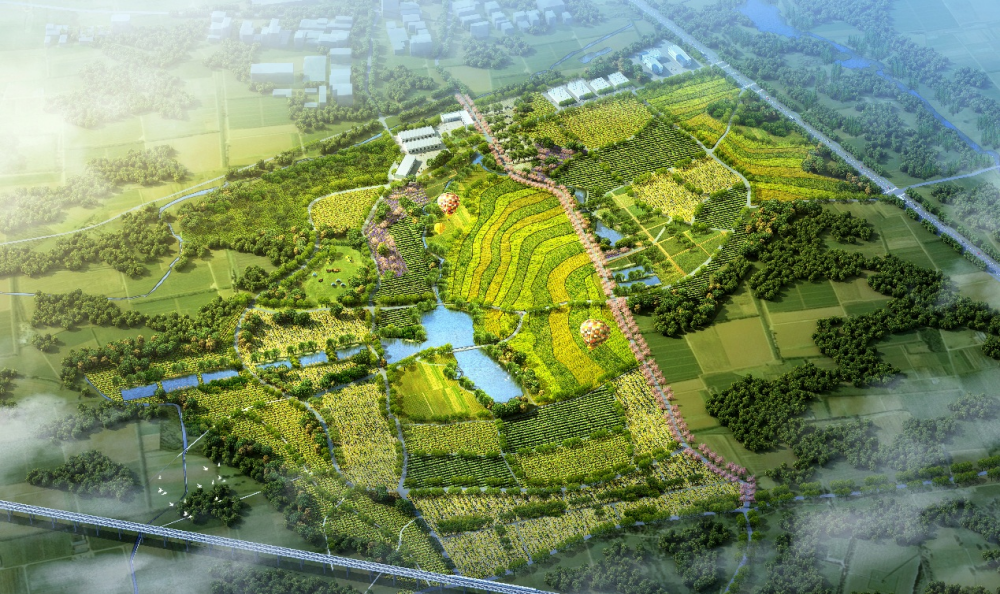
皖南·泾县栖月湾竹茶田园综合体
济南腊山复利广场项目
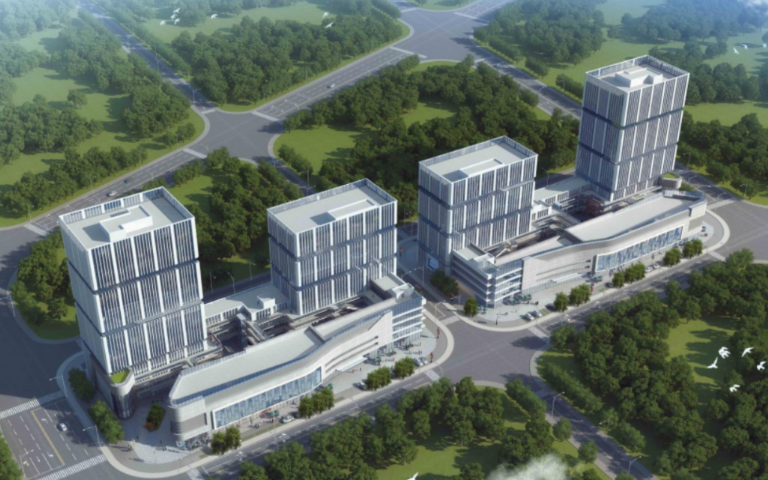
原平市科创谷产业研发基地项目

沿黄路郓城段升级改造工程
徒骇河防洪治理工程(济阳段)

援密克罗尼西亚波纳佩州二级公路、kahmar危桥改造项目
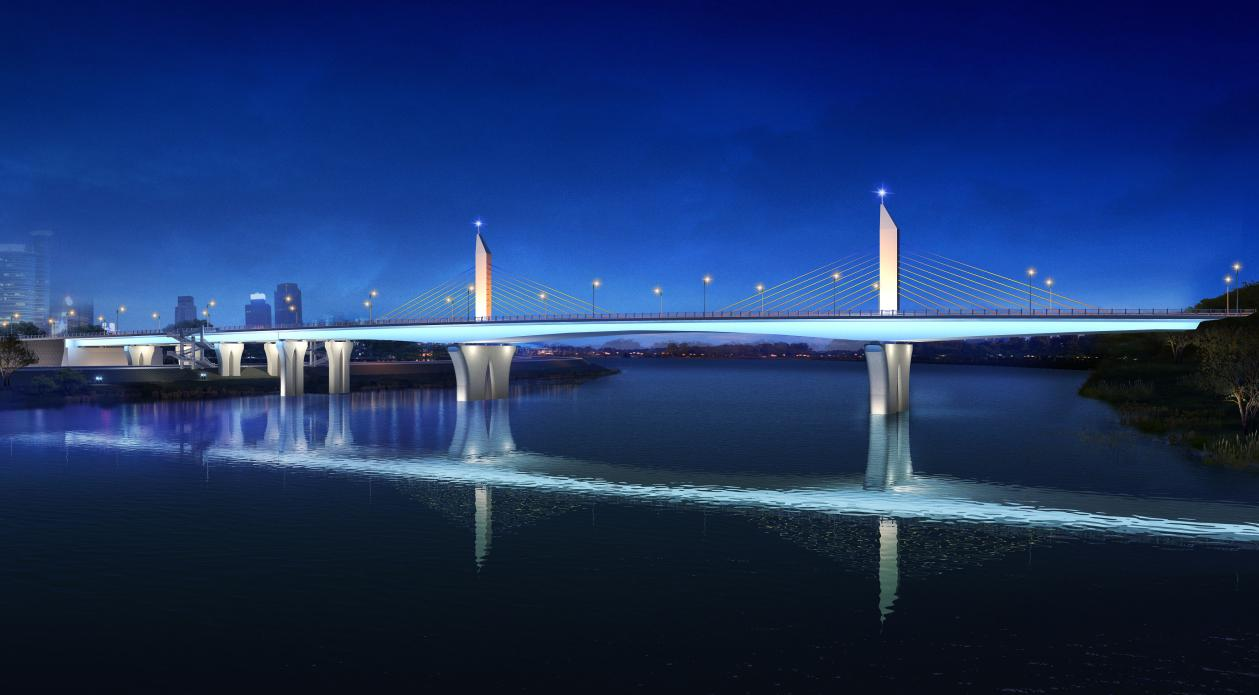
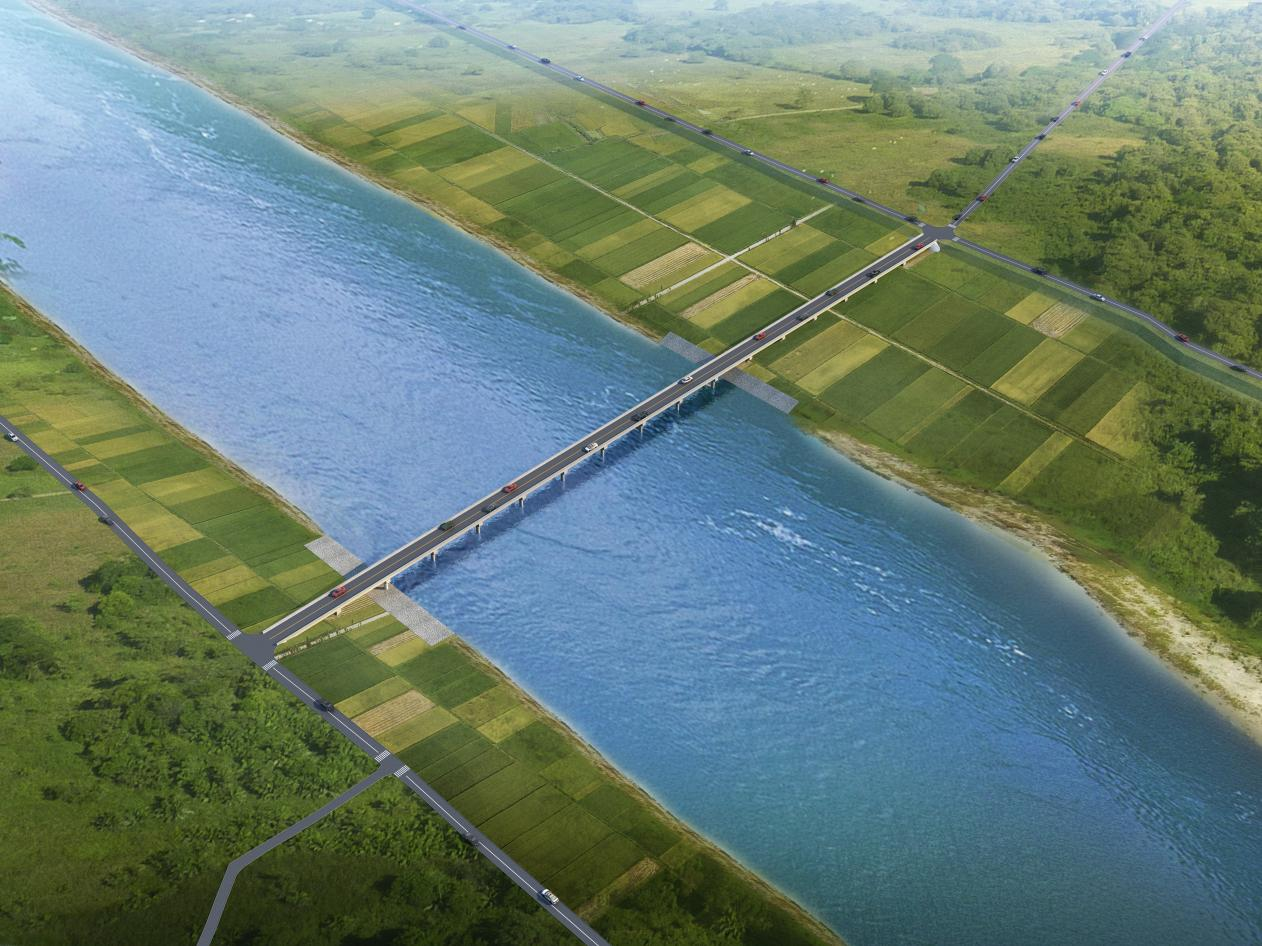
九头岩大桥项目
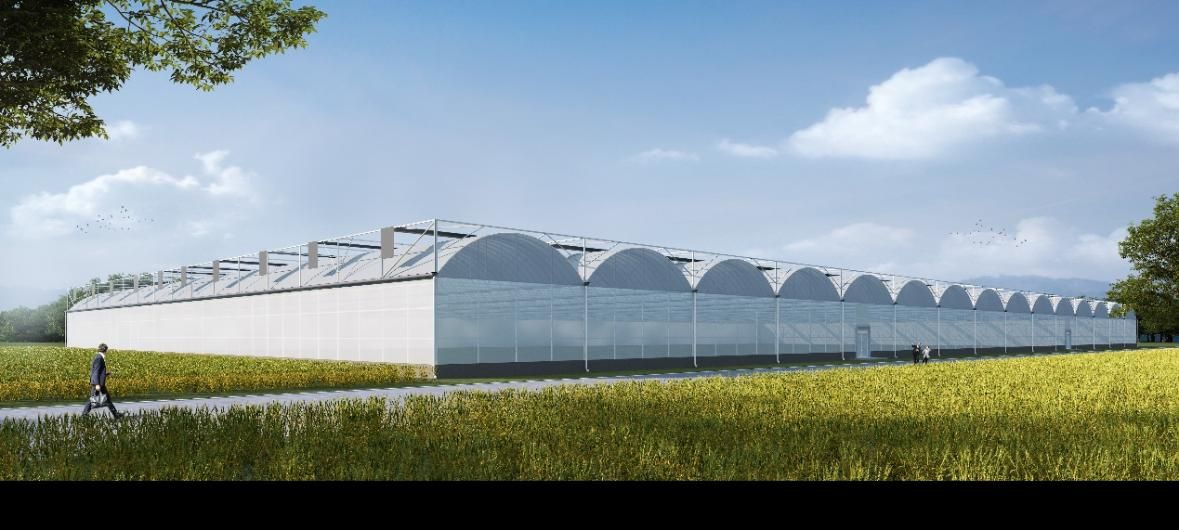
安丘市官庄镇数字化现代智慧农业园区
辽宁华鹏近海牧业有限公司智慧养殖园
三亚大豆育种平台项目
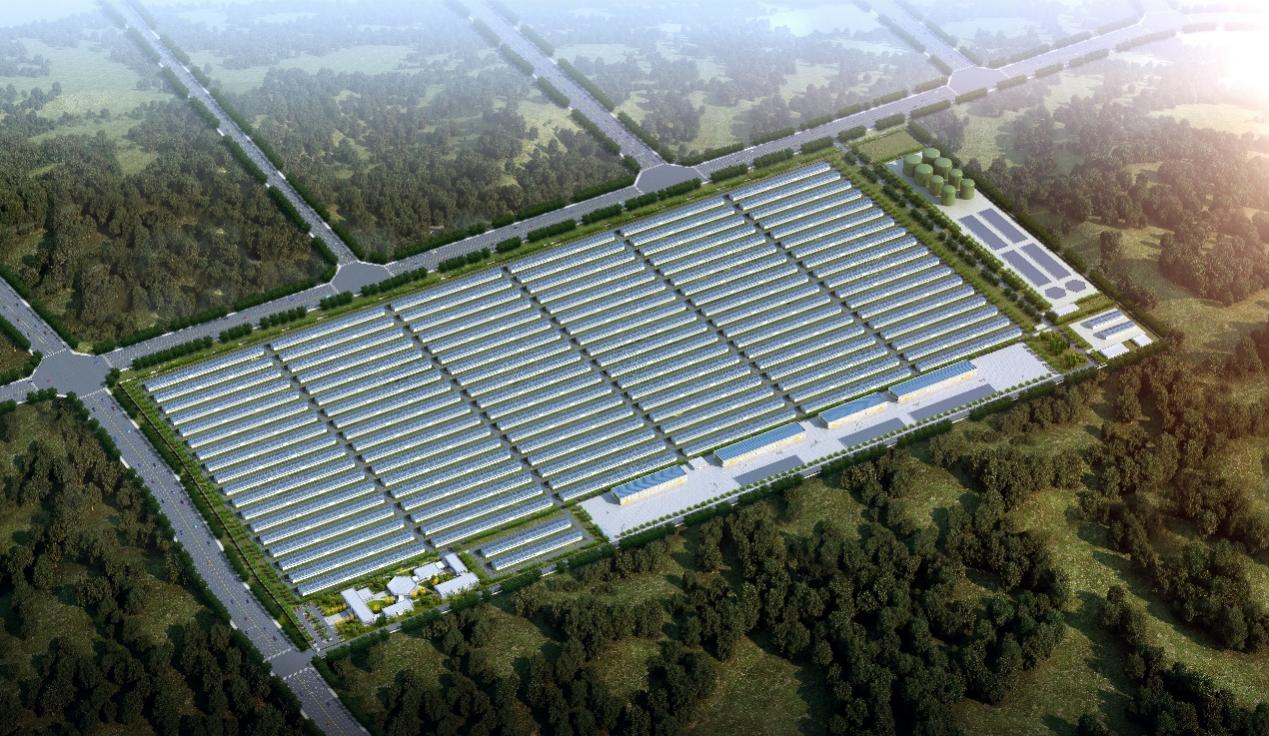
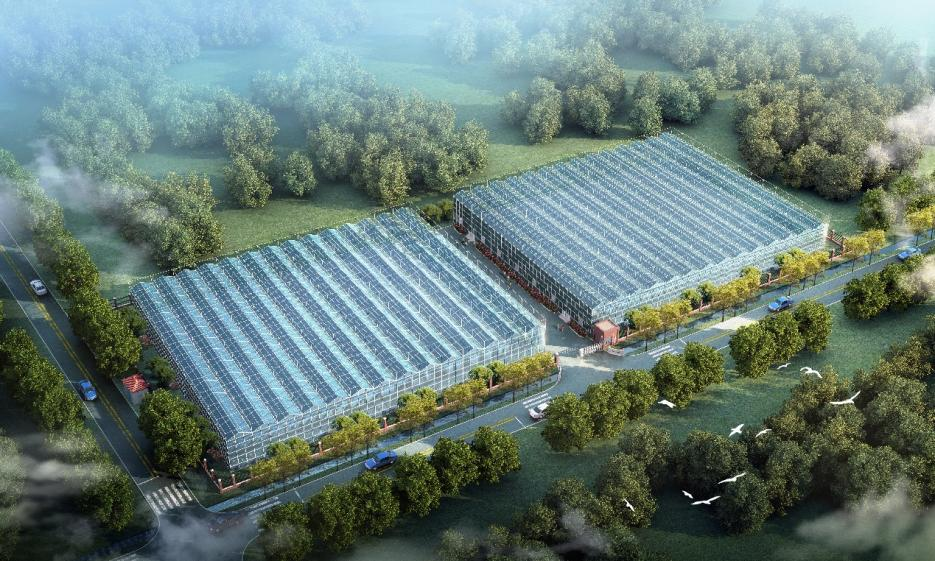
泗水县百世耕现代农业产业园项目
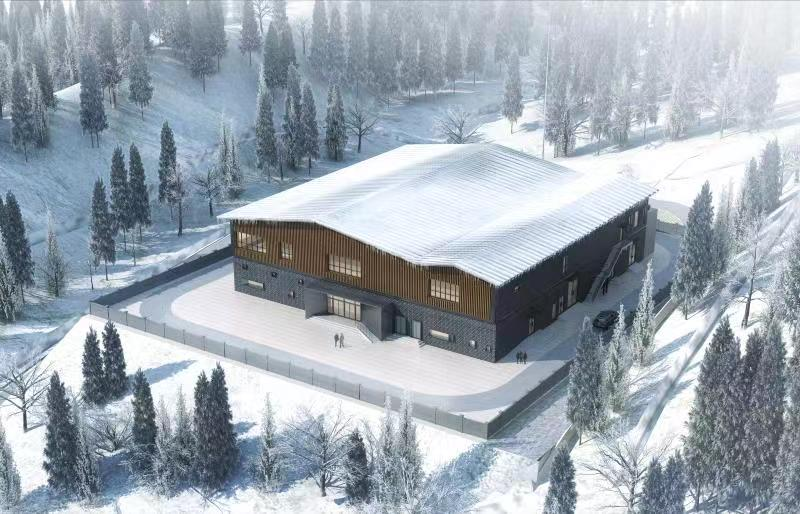
张家口奥雪110kV变电站工程
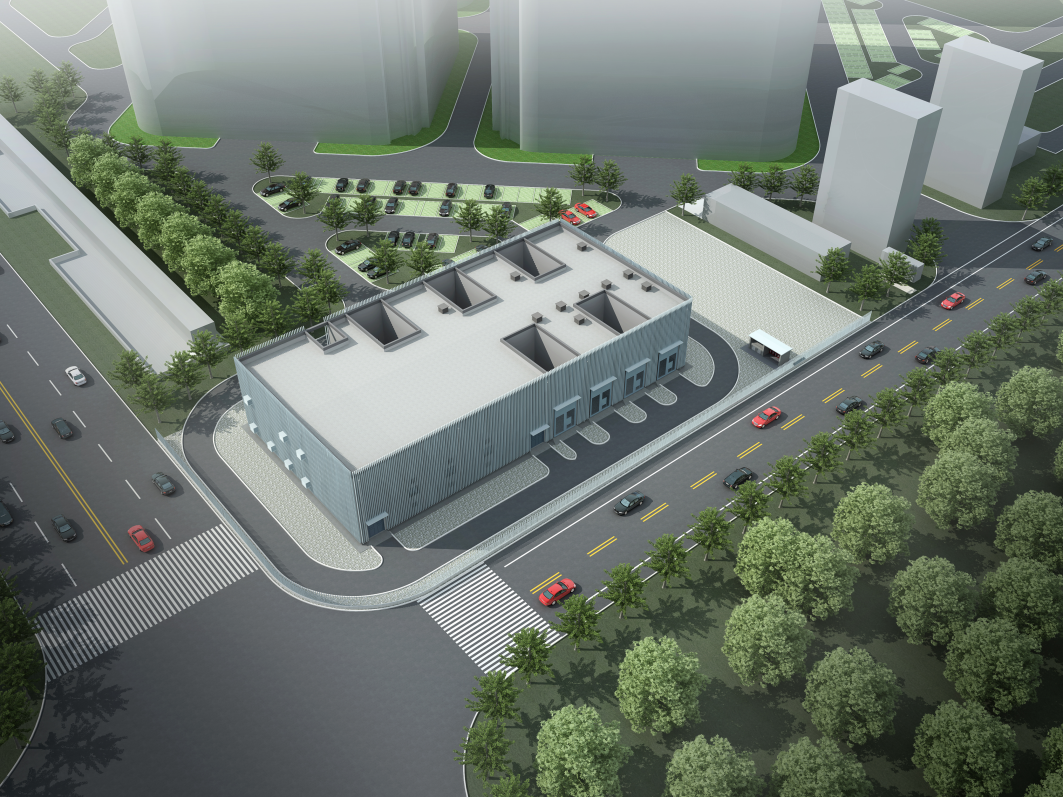
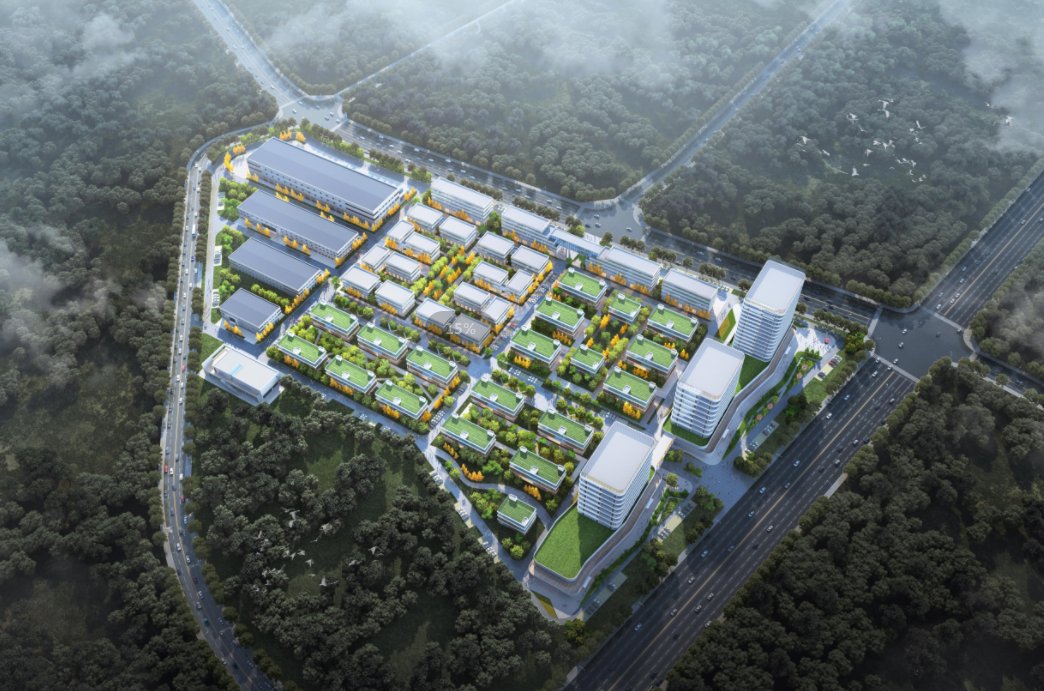
国家健康医疗大数据北方中心项目
国家电网公司输变电工程设计竞赛江西南康稍江220kV变电站工程

泗水县百世耕现代农业产业园项目

山东华卿包装制品有限公司液体食品包装制品及包装设备生产基地项目
济南吉利智慧新能源整车制造基地项目
怀仁市新建固体废物综合处理中心建设项目一期EPC工程
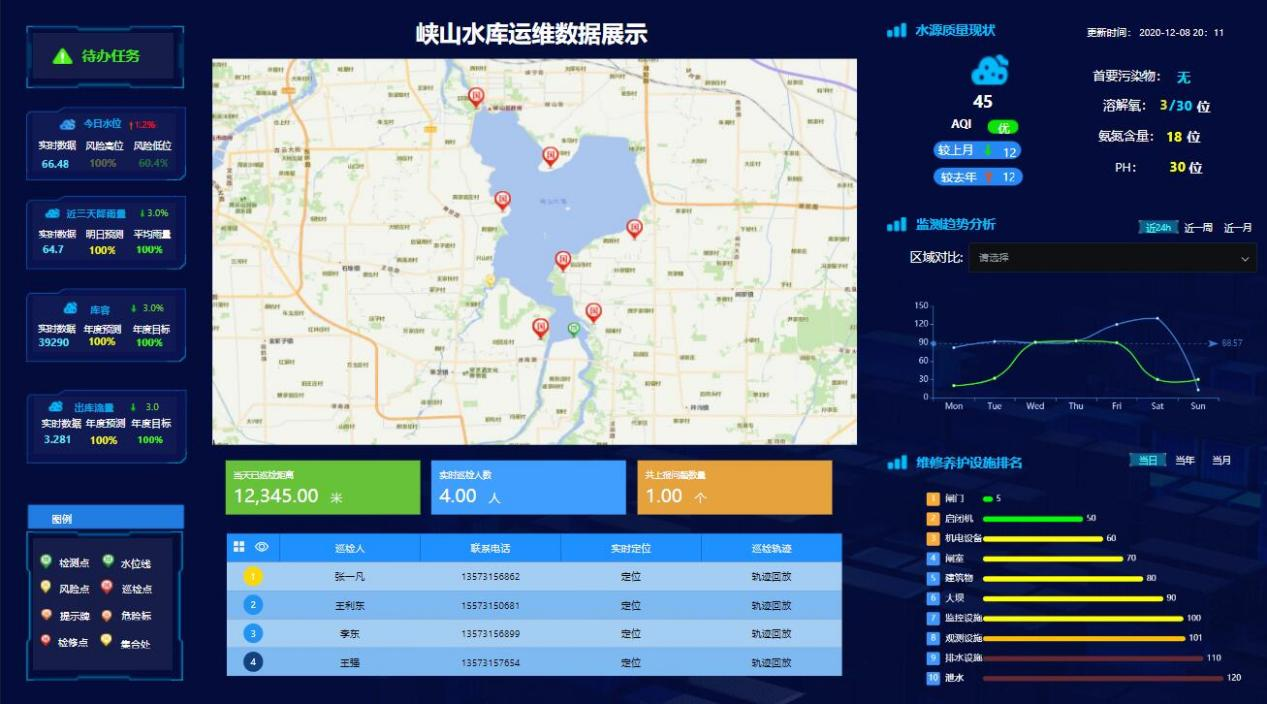
峡山水库运维数据
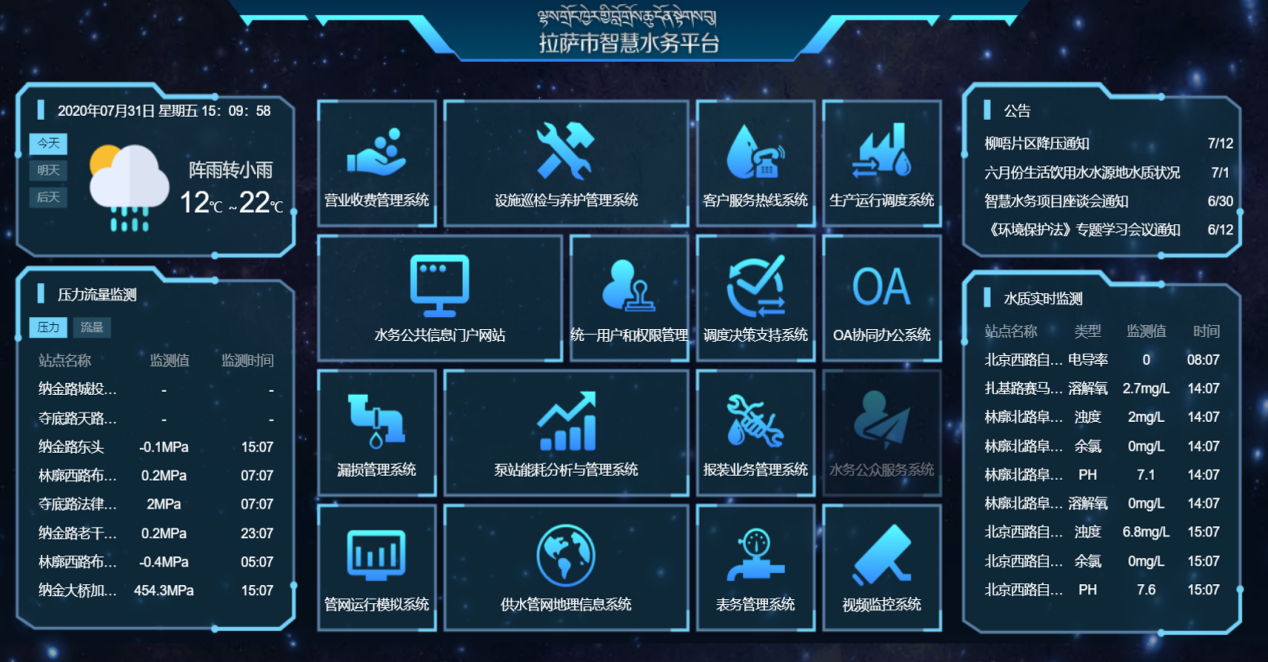
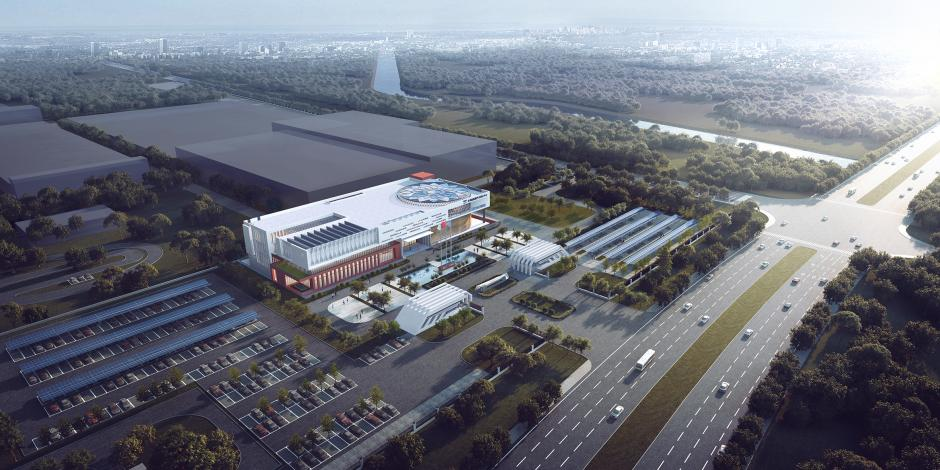
拉萨市管网改造和智慧水务信息一体化建设EPC项目
BIM技术在蠡县农村生活水源江水置换工程中的应用

BIM技术在黄瓜岭拦河闸工程中的应用
精品集萃
BOUTIQUE COLLECTION
设计咨询
技术服务
建设施工
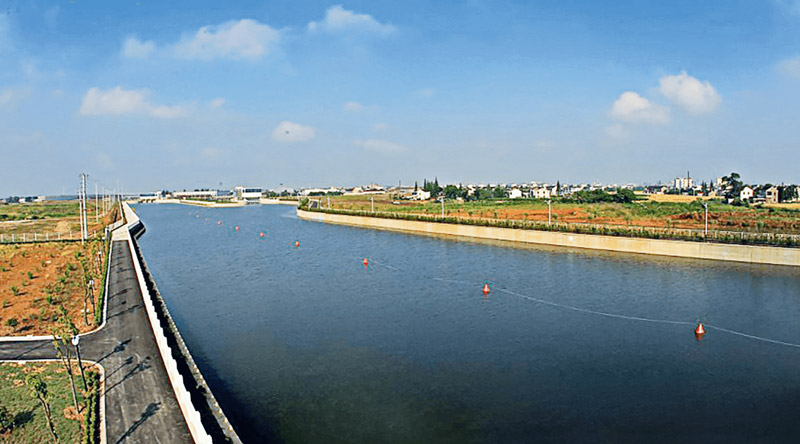
黄水东调潍坊滨海水厂
优化山东半岛地区水资源配置,保障经济社会可持续发展。
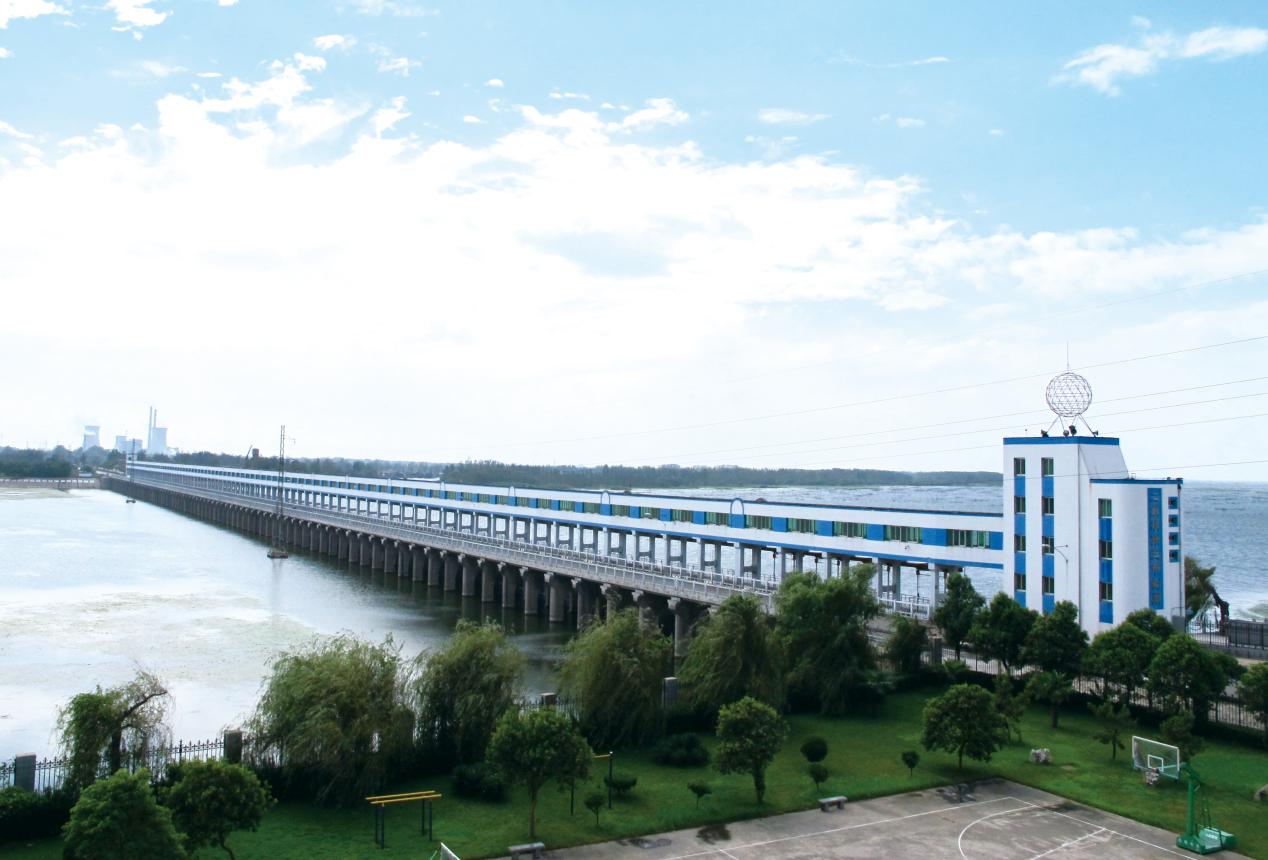
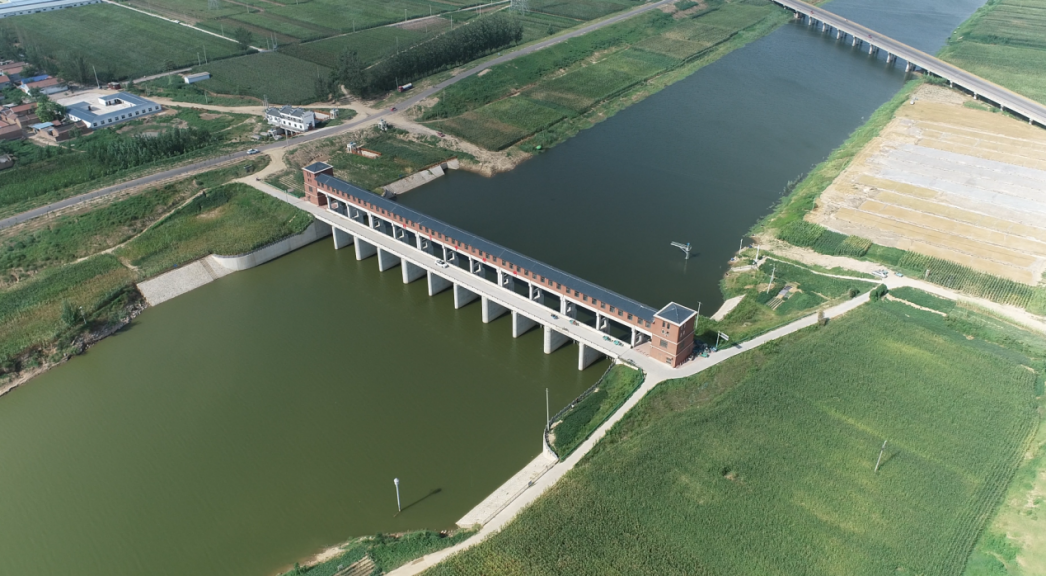
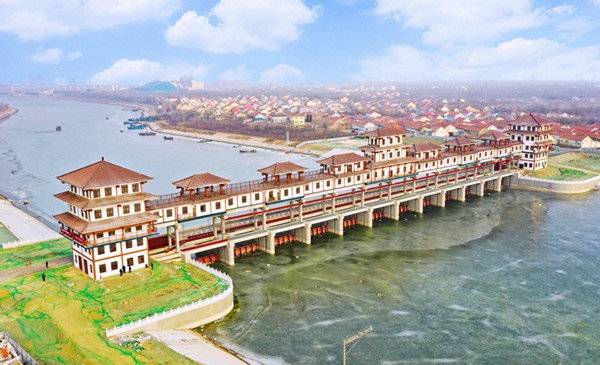
滨州沾化徒骇河坝上闸除险加固工程
增加雨洪水拦蓄能力110万立方,有效改善两岸的农田灌溉条件,同时消除病险水闸存在的隐患,增强蓄水、挡潮及河道行洪排涝能力。
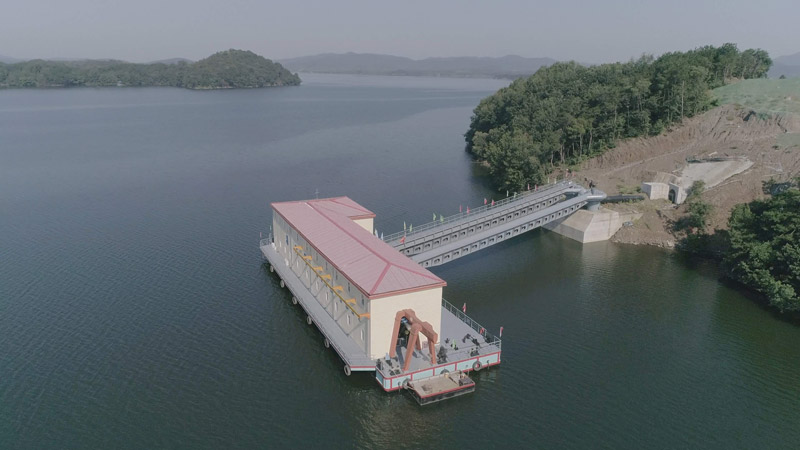
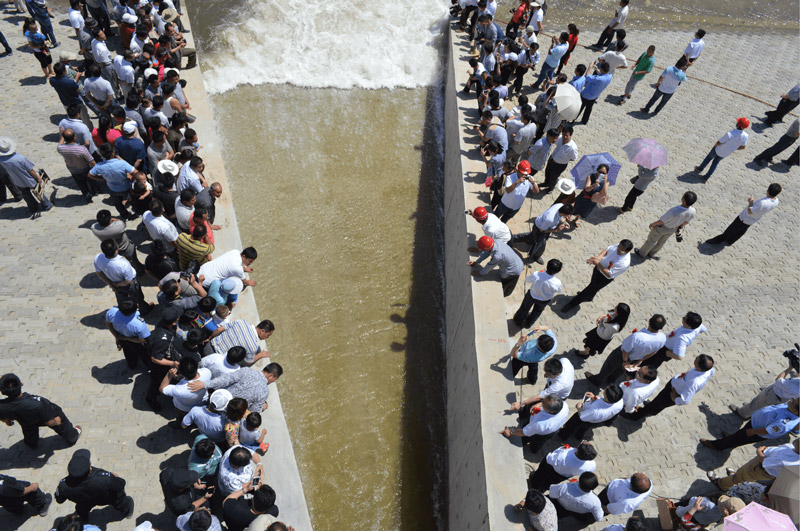
引鲇入固鲇鱼山水库浮动泵站
把邻县商城鲇鱼山水库的原水,通过泵站和输水管线引到固始县新建的净水厂,以满足固始县城发展及人民生活用水的需求。
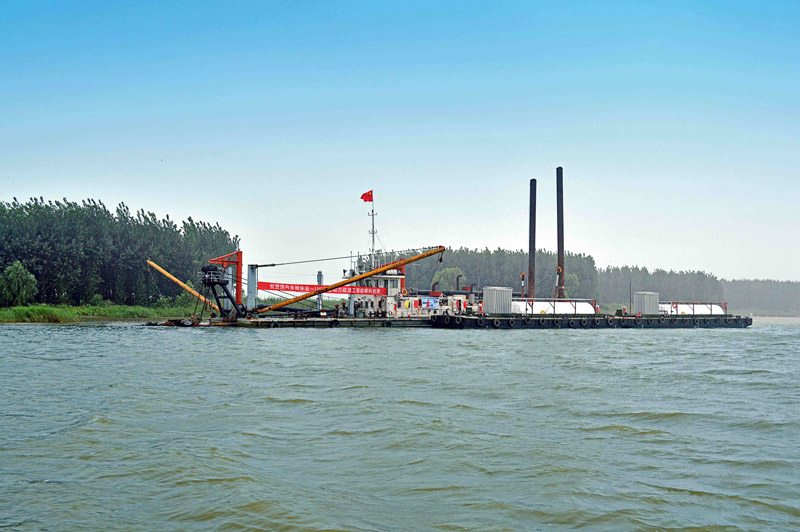
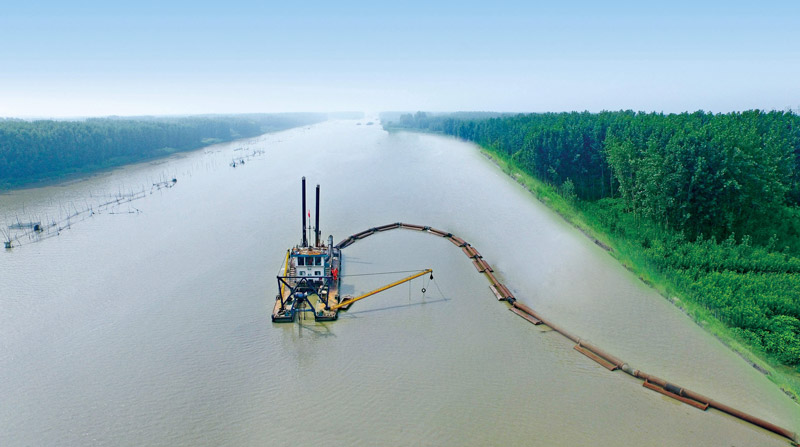
南四湖湖内浅槽工程
作为沂沭泗河洪水东调南下续建工程的重要组成部分,改善南四湖行洪条件,提高行洪能力,使南四湖防洪标准由20年一遇提高到50年一遇。
江苏望虞河工程
被评为“优良工程”,鲁水一号工程船被共青团中央授予“青年文明号”荣誉称号。1999年,太湖流域发生特大洪水,望虞河工程发挥了重要作用。
上海淀山湖吹填工程
放淤固堤。
小清河防洪治理工程邹平段
将防洪标准由原来的20年一遇提高到50年一遇,极大程度地缓解了沿线地区的防洪压力。

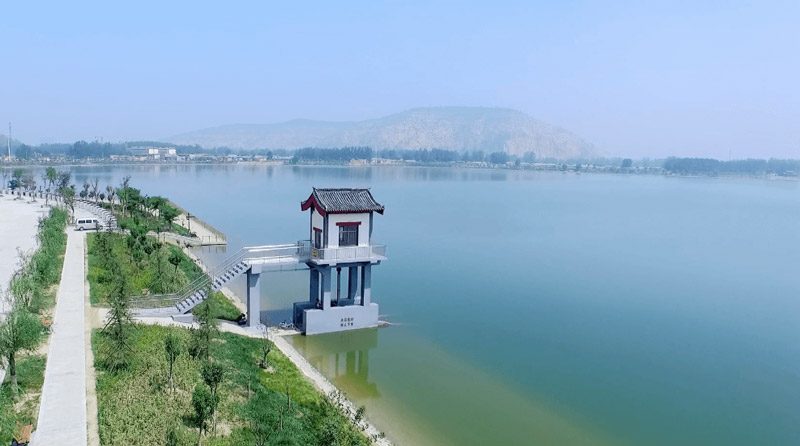
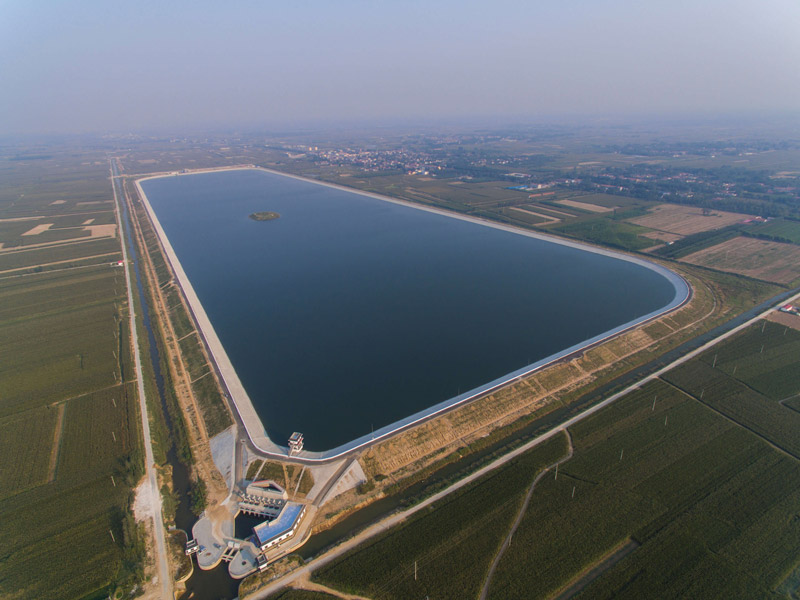
梁山蓼儿洼平原水库
改善了全县水生态环境,带动了景区、城区建设,改写了梁山“有山无水”的历史,再现昔日“八百里水泊”山水一体、烟波浩渺、禽飞鱼跃的壮丽景观。
梁山蓼儿洼平原水库
改善了全县水生态环境,带动了景区、城区建设,改写了梁山“有山无水”的历史,再现昔日“八百里水泊”山水一体、烟波浩渺、禽飞鱼跃的壮丽景观。
成武九女水库
饮水、农田灌溉之用,解决长期以来依赖地下水的不良状况,对于充分利用水资源,保护生态环境起到重要的作用。
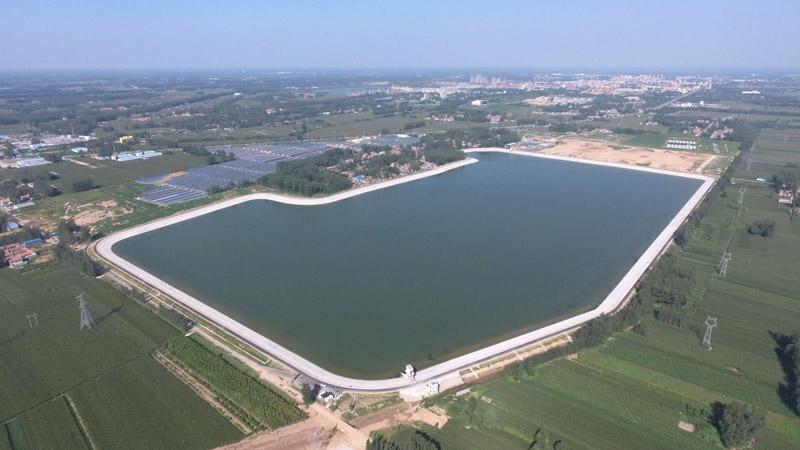
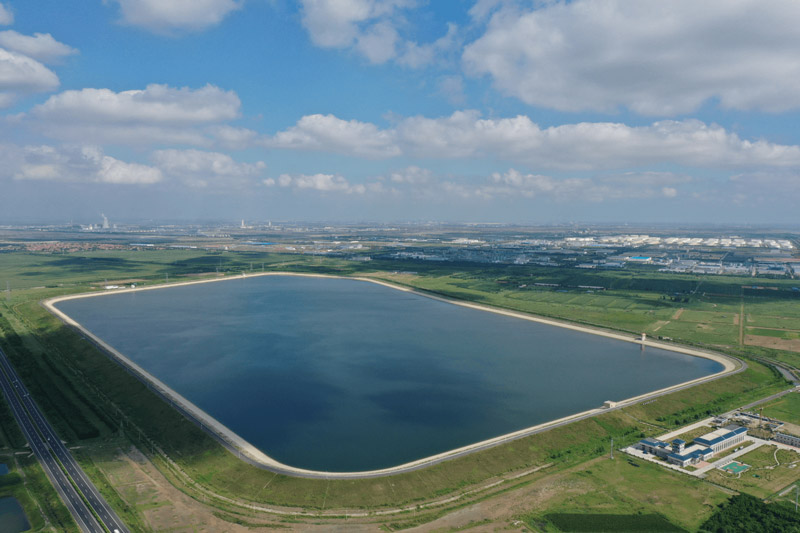
单县月亮湾水库
利用现有的引黄工程体系,结合灌区灌溉引水过程,通过工程措施,充分调蓄黄河水,为 37.7 万居民提供生活用水,解决目前仅靠地下水供水出现的供水能力不足、饮水不安全问题,提高生活用水保证程度,改善生态环境。
金乡高河平原水库
解决了金乡县城区、西南、东南部居民饮水安全问题,缓解了金乡县的居民生活供水危机,解决了金乡县中南部居民饮水安全问题,保证了该地区社会经济的可持续发展。
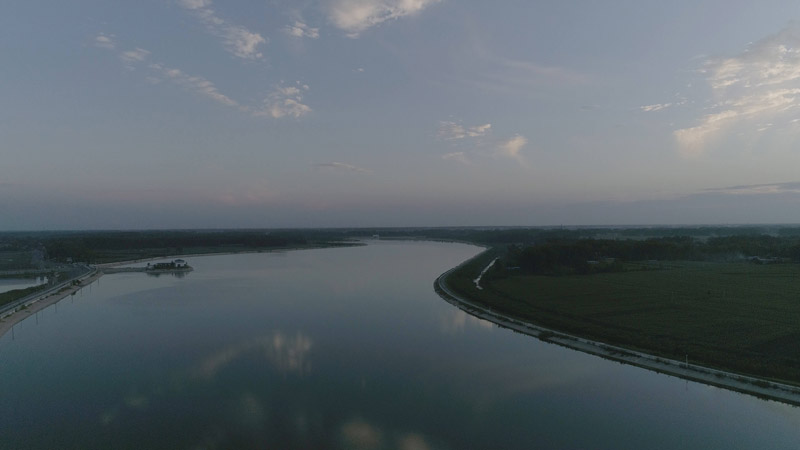
郓城城南水库
以解决人畜生活用水为主,郓城城区及城南9个乡镇的居民实现饮用黄河水,全县一半人口结束饮用地下水的历史。
乐陵丁坞水库
满足276个行政村和70多个乡镇企业用水,彻底解决覆盖区的村民和企业用水的后顾之忧。
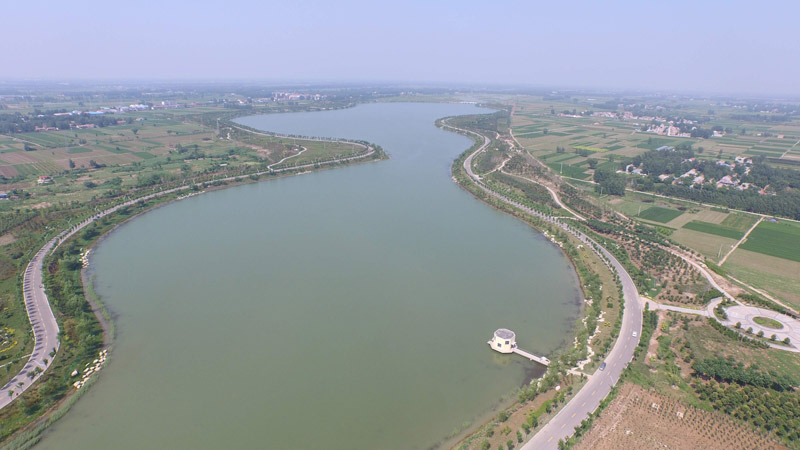
阳谷赵王河水库工程
实现了雨洪水与黄河水的联合调度,基本解决园区水资源供需矛盾,同时兼顾水产养殖及旅游景观,充分发挥综合效益,也推动了区域社会经济的发展。
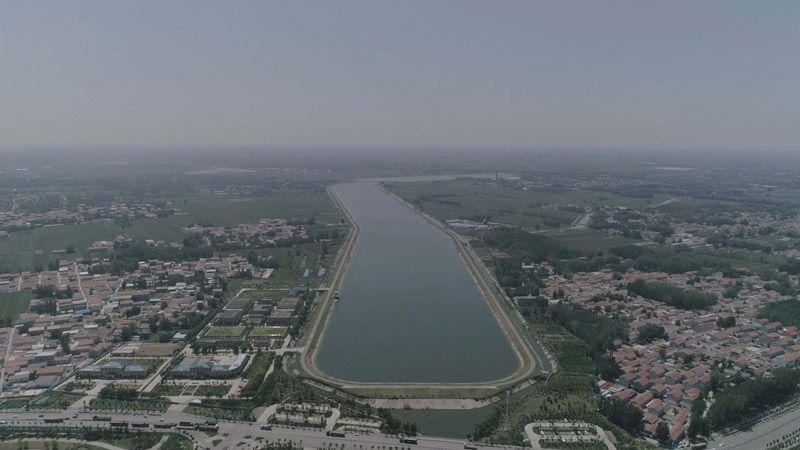
南水北调东线梁济运河段
寒暑众人碌,天地运河宽。 玉龙纵贯南北,沃野碧连天。 试看滔滔春水,涤尽焦灼岁月,经此复年年。景致比苏浙,神韵赛江南。 稻菽丰,千帆竞,蟹鱼鲜。 一河之利,万民盛世尽开颜。 回首峥嵘岁月,喜看煌煌功绩,茹苦亦欣然。 水利千秋事,泽润满人间。

郓城城南水库
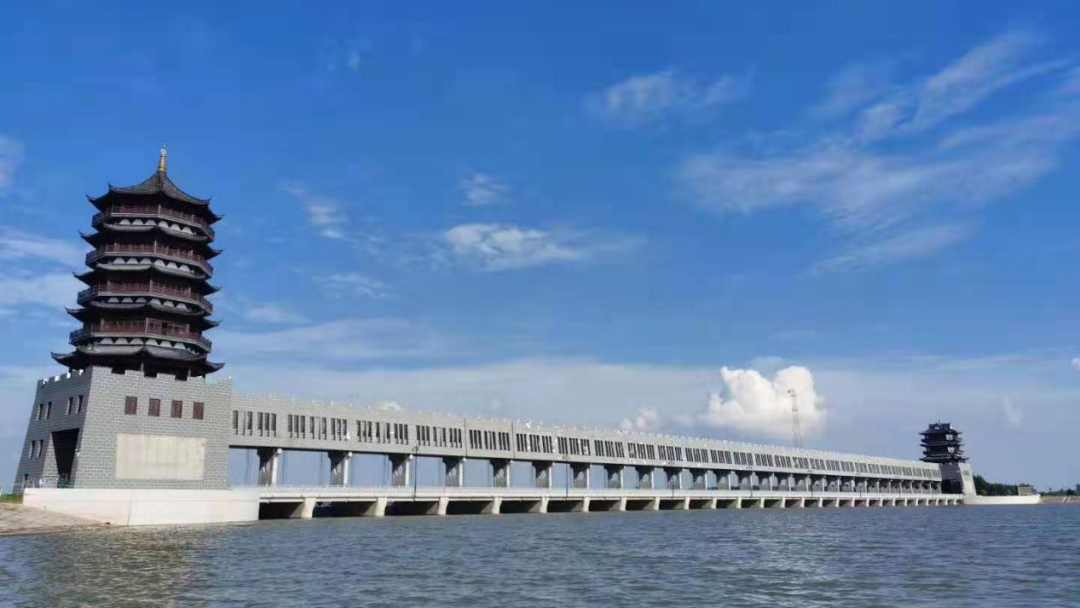
淮河干流行洪区调整和建设工程至花园湖进洪闸工程
进一步完善了当地的水网体系,增强了生态文明建设,为当地防洪安全增加了一道坚固的保护屏障。
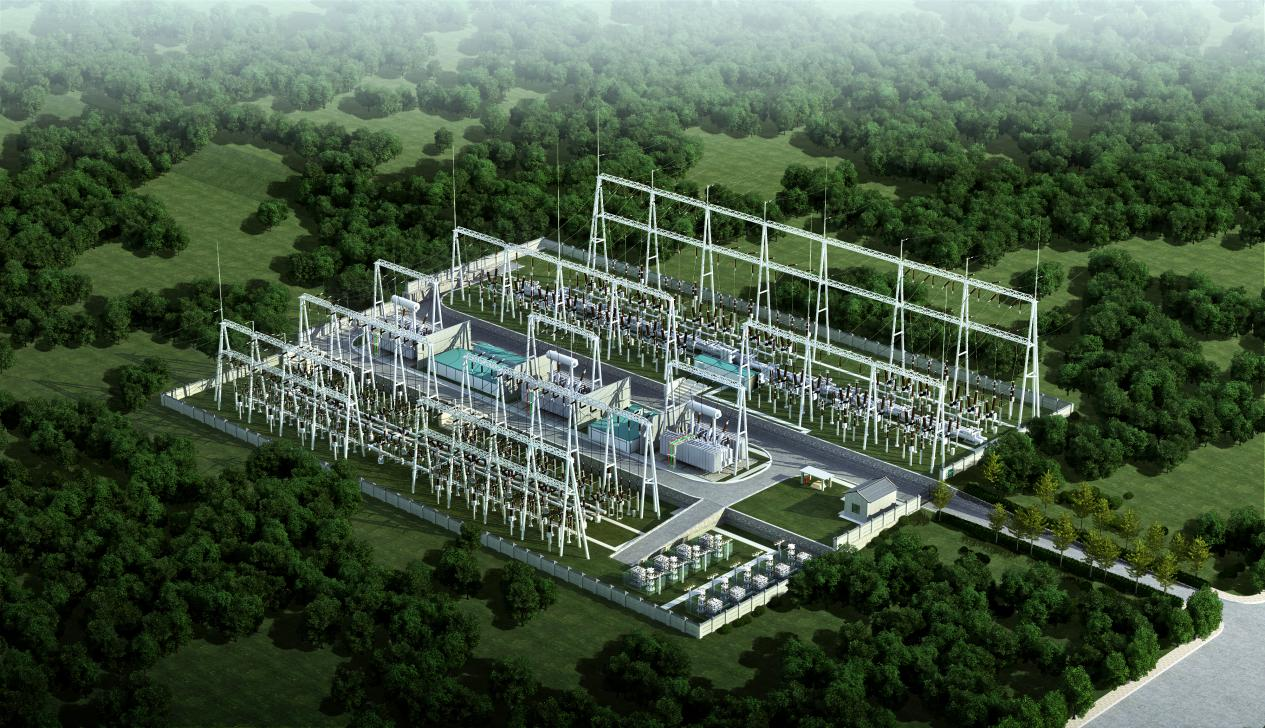
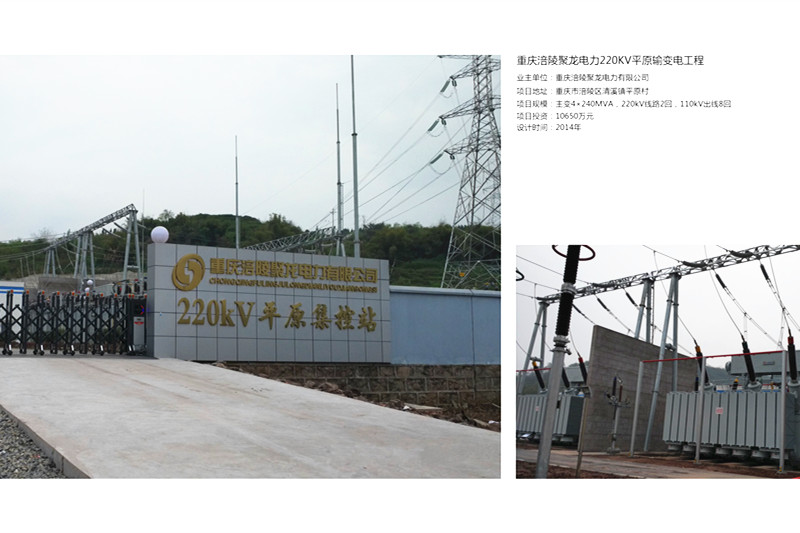
涪陵220kV平原输变电工程
是重庆陆洋2015年完成的设计,项目总投资10455万元,位于涪陵清溪再生有色金属特色产业园内,于2014年6月开工建设,2015年11月投运。本项目的建成投运有力的保障了涪陵清溪产业园区的快速发展,为涪陵工业提档升级提供了强力支撑。


友情链接